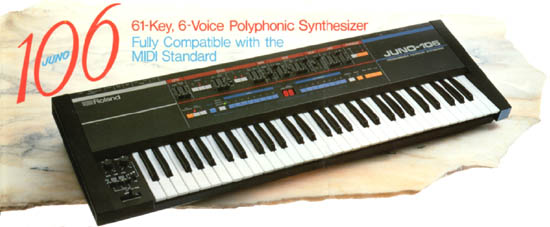
The classic Juno 106.
My 106 was in great shape when I bought it slightly used at a fair price around 1998. Sadly, it took a spill off the back of a keyboard rack, slid down the wall and by the time it reached the floor it lost several sliders. Thanks to the Interwebs I found a fellow in Hong Kong who had several aftermarket parts for the Juno 106. I ordered my replacement sliders (as well as a couple for future repairs). I also bought a fancy clear plastic pitch bender backlighted by a couple blue LED’s.

The guts of the Juno 106

Another shot of the Juno 106 guts

Funky blue LED pitch bend installed on the Juno 106

How many times have you said to yourself "Glarble!! It is dark and I can not find the pitch bend on my Juno 106!" - I shall never utter those words again.
UPDATE 2010.10.06: I love my Juno but sometimes I want to kick it. It is back on the bench with a faulty 80017A voice chip (#5). I’ve removed it and I’m currently attempting the acetone trick.
It appears Roland dipped their voice chips in some plastic coating. As the plastic ages it can act as a conductor and cause the chip to fail (if I understand the issue correctly). In my case the VCA is hanging causing the tone to hold. Some people are having good luck removing the plastic coating. To do this you can unsolder the 80017A voice chip from the module board, soak the chip in acetone for 24-48 hours, peal off the plastic coating, and resolder it back into the module board.
It is fairly easy to figure out which 80017A voice chip is bad by entering the test mode. To do this, power on the unit while holding the Key Transpose button. The display should show ‘-_’. This means that your JUNO-106 is now in test mode. Turn on Poly 1 and Poly 2. The JUNO-106 is now in rotary mode. As you play the 106 the display shows which 80017A voice chip is playing.
If the acetone removal trick works and voice 5 is back to normal, I might just do that to the rest of the chips. I don’t want to put the Juno 106 back on the bench in a month or two.
UPDATE 2010.10.07: It appears the acetone trick worked on voice chip #5. It took about 12 hours for the first sections of plastic to soften and release from the chips. Over 24 hours I would remove the 80017A chip from time to time and pick off whatever plastic I could and then drop it back in the acetone bath.
Once it was clean I re-soldered it back on the module board. On power up, right away I could tell it was better. Oddly, 80017A chip #2 was starting to make crackling noises. It might have been doing this all along but I couldn’t hear it over #5. In any case, I pulled #2 out and it is sitting in the acetone bath. I took a video this time around.
After I made the video I decided to just go ahead and yank all the remaining voice chips and clean them. I know these are going to be a problem later down the road so I might as well get it over with now.
In my video I talk about the calibration procedure for the Juno. I have a PDF of the procedure so I decided to include it in this post.
Juno 106 Calibration 1.38 MB PDF
specs?…
No! Everyone should know the specs of this machine by now.
Acquired: 1988


I had one of these for quite a while, regret selling it to this very day. the MKS-50 just doesn’t quite fill the gap.